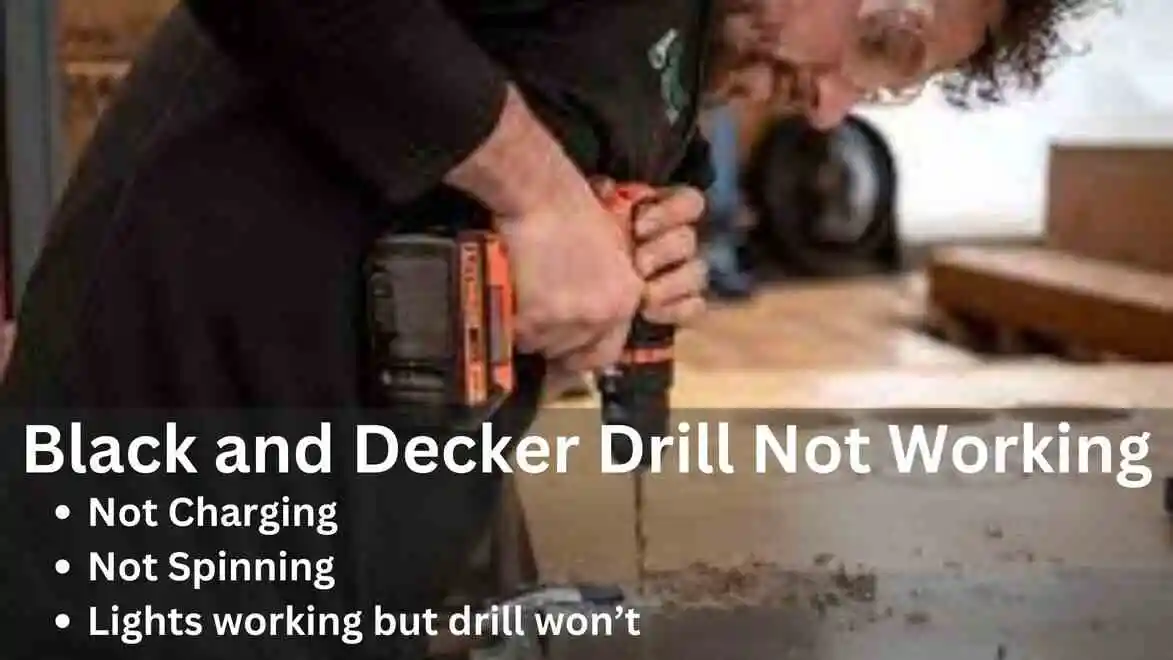
Power tools like drills are essential for various DIY projects and professional work. However, encountering issues with your drill after a battery change can be frustrating. If you find yourself in this situation, don’t worry! There are several common reasons why your drill might not be working after a battery replacement, and most of them can be resolved with a bit of troubleshooting.
When your cordless drill suddenly stops working after changing the battery, it can be incredibly frustrating. From examining the battery to inspecting the power switch, we’ll cover various aspects of the problem, ensuring you have the know-how to troubleshoot and get your drill back to work efficiently. So, let’s dive in and tackle the problem step by step.
In this article, we’ll walk you through Ten potential fixes for drill not working after battery change.
Drill Not Working after Battery Change:
Inspect the Chuck
The Problem: A stuck or malfunctioning chuck can prevent the drill bit from rotating properly.
Solution:
- Ensure that the drill bit or accessory is securely attached to the chuck. A loose connection here can prevent the drill from functioning.
- If you find any obstructions or debris around the chuck, carefully remove them using pliers or a screwdriver.
Look for Overheating
The Problem: If your drill has been used extensively before the battery change, it might have overheated. Many drills have built-in safety mechanisms that prevent them from turning on until they have cooled down.
Solution:
- Allow the drill to rest for a while to cool down if it feels hot to the touch. After it has cooled, try turning it on again.
- Avoid overworking your drill for extended periods to prevent overheating in the future.
Check the Charger:
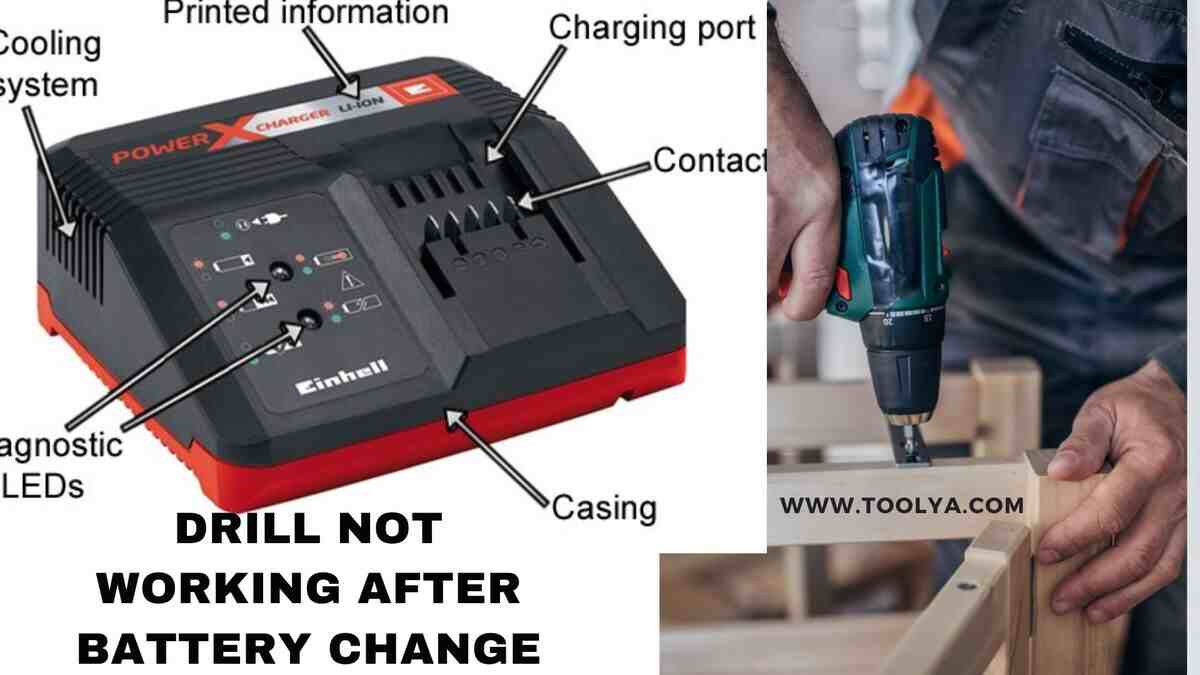
The first step in diagnosing the issue is to ensure that the charger is working correctly. If the charger is not functioning, your battery won’t charge, and consequently, your drill won’t work. Here’s what you can do:
- Verify that the charger is plugged into a functioning power outlet.
- Check for any visible damage to the charger or its cable.
- Test the charger with another compatible battery (if available) to rule out a faulty charger.
Inspect the Battery Contacts:
Dirty or corroded battery contacts can lead to poor electrical connections, causing intermittent power loss. To address this issue:
- Use a small screwdriver or a contact-cleaning brush to gently scrape off any corrosion or debris from the battery contacts.
- Ensure the battery contacts on both the drill and the battery are clean and free of obstructions.
Examine the Trigger:
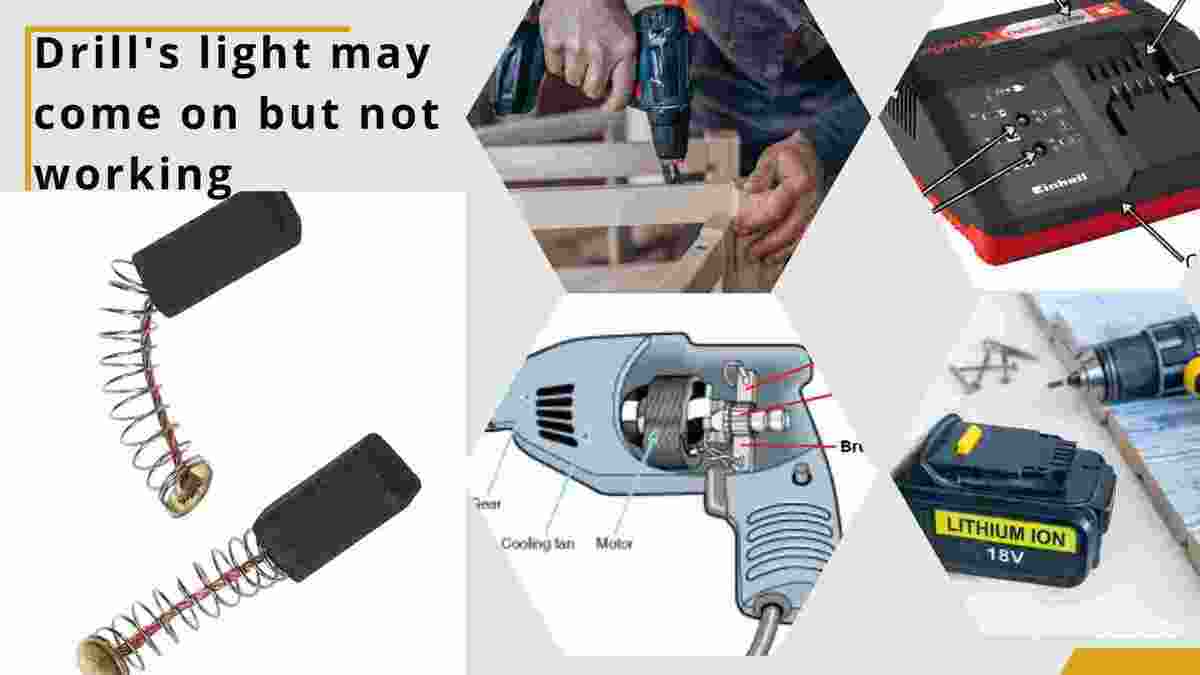
If the lights on your drill illuminate, but the trigger isn’t responsive, the trigger switch might be the culprit. Here’s how to address this:
- Try spraying contact cleaner onto the trigger switch to clean the contacts.
- If cleaning doesn’t work, you may need to replace the trigger switch. Refer to your drill’s user manual for instructions or seek professional assistance.
Check the Power Switch:
Some drills have a separate power switch that can accumulate dirt or debris over time, causing power interruptions. To troubleshoot this:
- Inspect the power switch for any signs of dirt or damage.
- Apply contact cleaner to the power switch and cycle it on and off several times to remove debris.
Inspect the Battery:
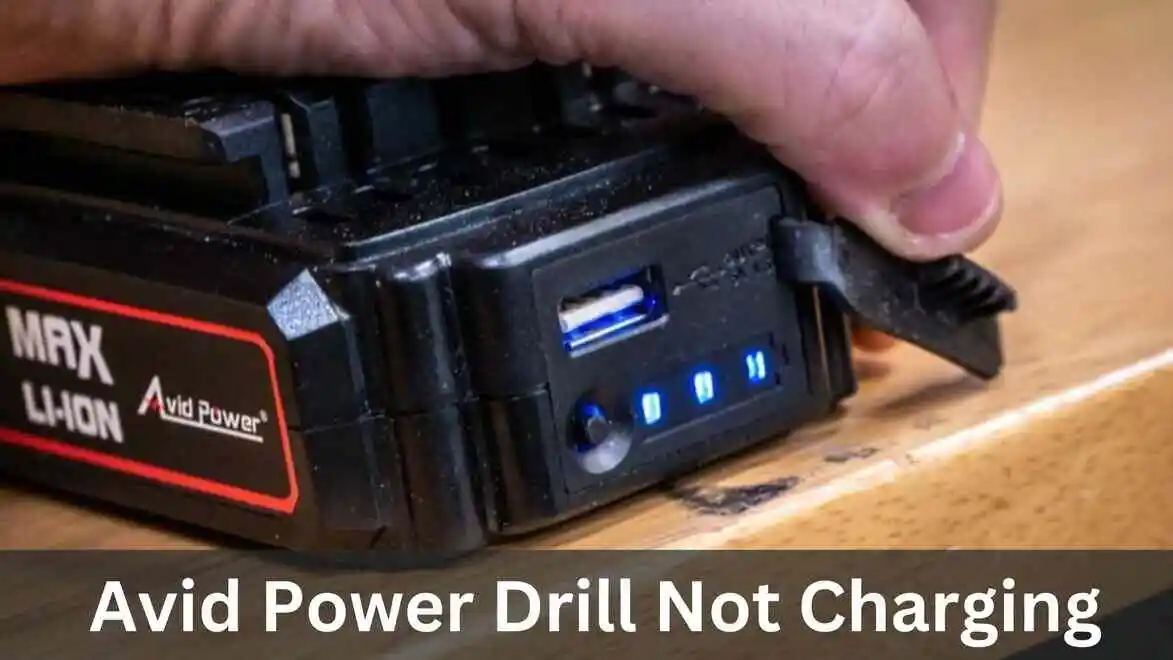
Occasionally, the issue might be with the battery itself. To ensure your battery is in good condition:
- Check for visible damage, such as cracks or leaks.
- Ensure the battery is fully charged; sometimes, a seemingly dead battery just needs a recharge.
- Test the battery on another compatible tool (if available) to determine if it’s the source of the problem.
Look for Other Damage:
If your drill has suffered physical damage or a severe drop, it could have internal damage affecting its functionality. In such cases:
- Inspect the drill for visible damage or loose components.
- If damage is evident, consult a professional repair service or consider replacing the drill.
Assess the Motor:
If none of the above solutions work, the issue may be related to the drill’s motor. Motor problems can be more complex and often require professional diagnosis and repair. Contact the manufacturer or a skilled technician for assistance.
Warranty Consideration:
If your drill is still under warranty, it’s advisable to reach out to the manufacturer or the retailer where you purchased it. They may provide assistance or offer a replacement if the issue is covered by the warranty.
Conclusion:
Experiencing problems with your drill after a battery change can be frustrating, but most issues can be resolved with some troubleshooting.
By following these eight steps, you can diagnose and potentially fix the problem yourself. However, if you’re unsure about any of the steps or the issue persists, don’t hesitate to seek professional help to ensure your drill operates safely and efficiently for all your future projects.
